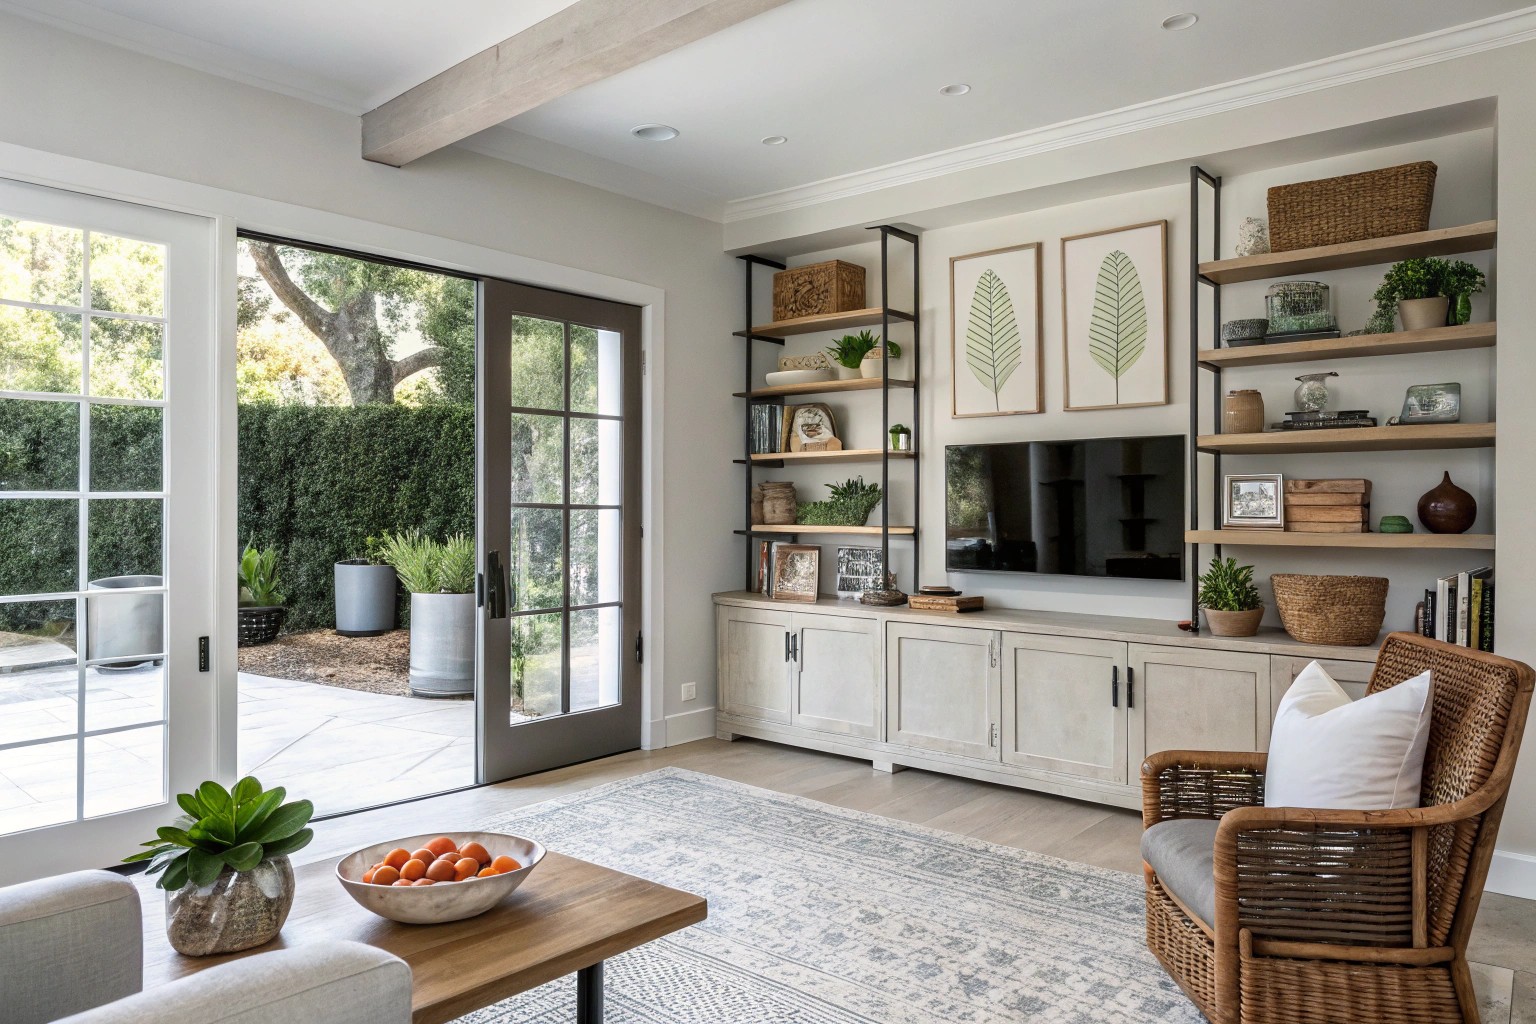
Open shelving has become a design staple in modern homes—beloved for its airy aesthetic yet sometimes challenging in everyday life. After working with countless clients on open shelving projects, I’ve discovered there’s a significant gap between Pinterest-perfect displays and functional, livable solutions. This guide will walk you through creating and maintaining beautiful open shelves that can withstand the realities of daily life.
Understanding the Open Shelving Lifestyle
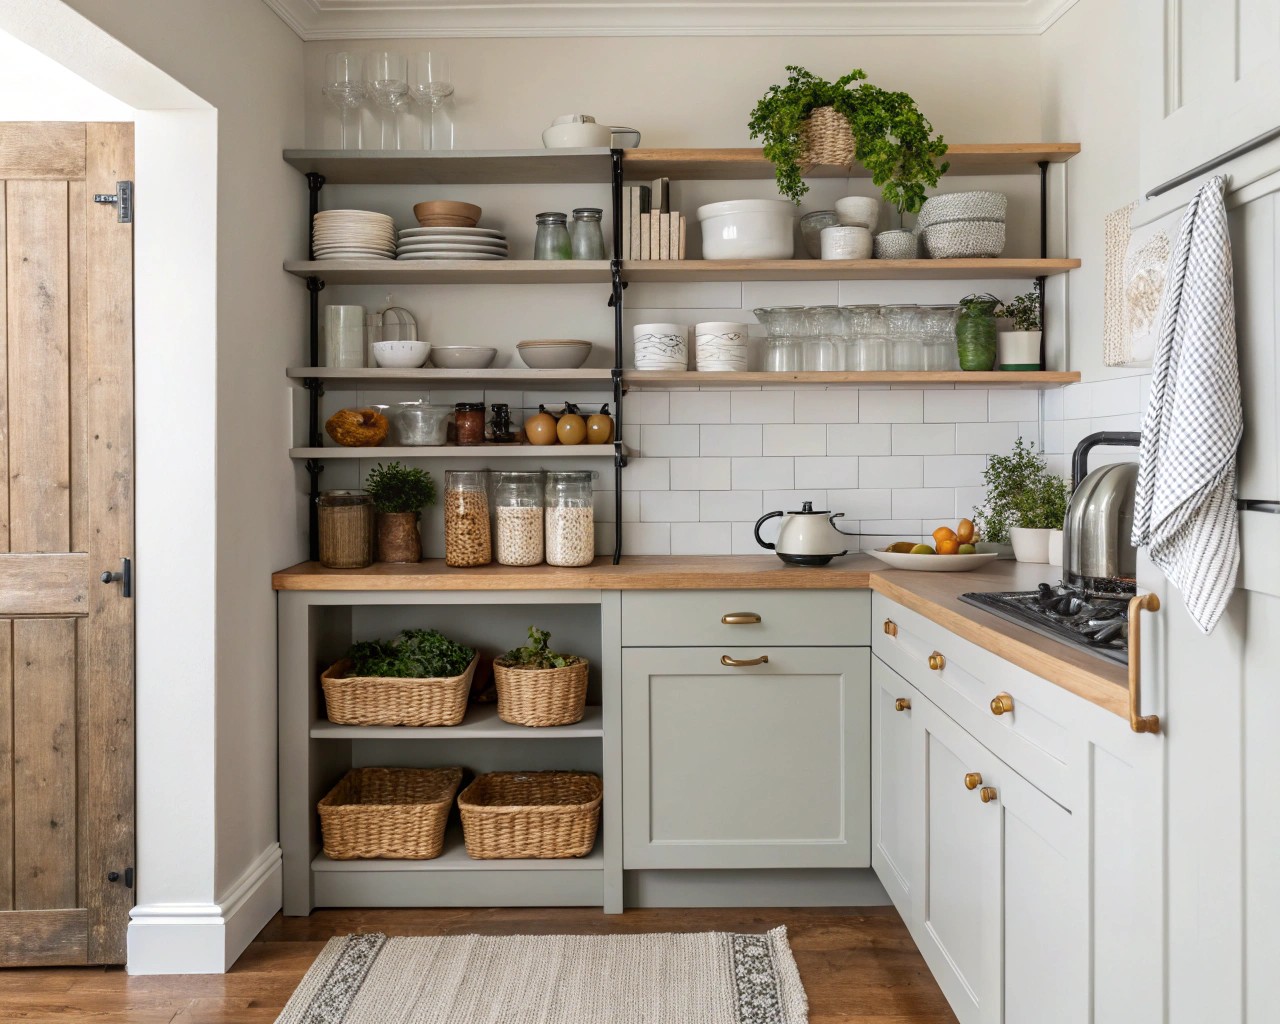
Before diving into styling tips, let’s acknowledge what you’re signing up for. Open shelving represents more than just a design choice—it’s a lifestyle commitment that influences how you organize, display, and maintain your belongings.
The Real Pros and Cons
Having designed open shelving for varied spaces from tiny urban apartments to sprawling country homes, we’ve compiled this honest assessment:
Pros:
- Creates a sense of openness and airiness in spaces, particularly beneficial in smaller kitchens
- Provides an opportunity to showcase decorative items and personal collections
- Offers increased accessibility and convenience for frequently used items
- Typically costs less than closed cabinetry
- Allows for easy access and visual reminders to actually use special pieces
- Can make spaces feel larger and more expansive
Cons:
- Requires regular maintenance to prevent dust accumulation
- May create visual clutter if not styled thoughtfully
- Works best with cohesively styled items (you may need to hide mismatched pieces)
- Less practical for lower shelving if you have small children
- Demands a commitment to organization and tidiness
The potential mismatch between aesthetic desire and practical living was highlighted in a project for a busy family of five. Initially enthusiastic about extensive open shelving, the reality of daily upkeep led them to request replacing half the shelves with traditional cabinets just three months later. This underscores that while beautiful, open shelving must align with your actual lifestyle, not just design aspirations.
Planning Your Open Shelving Project
Determining Your Needs and Space
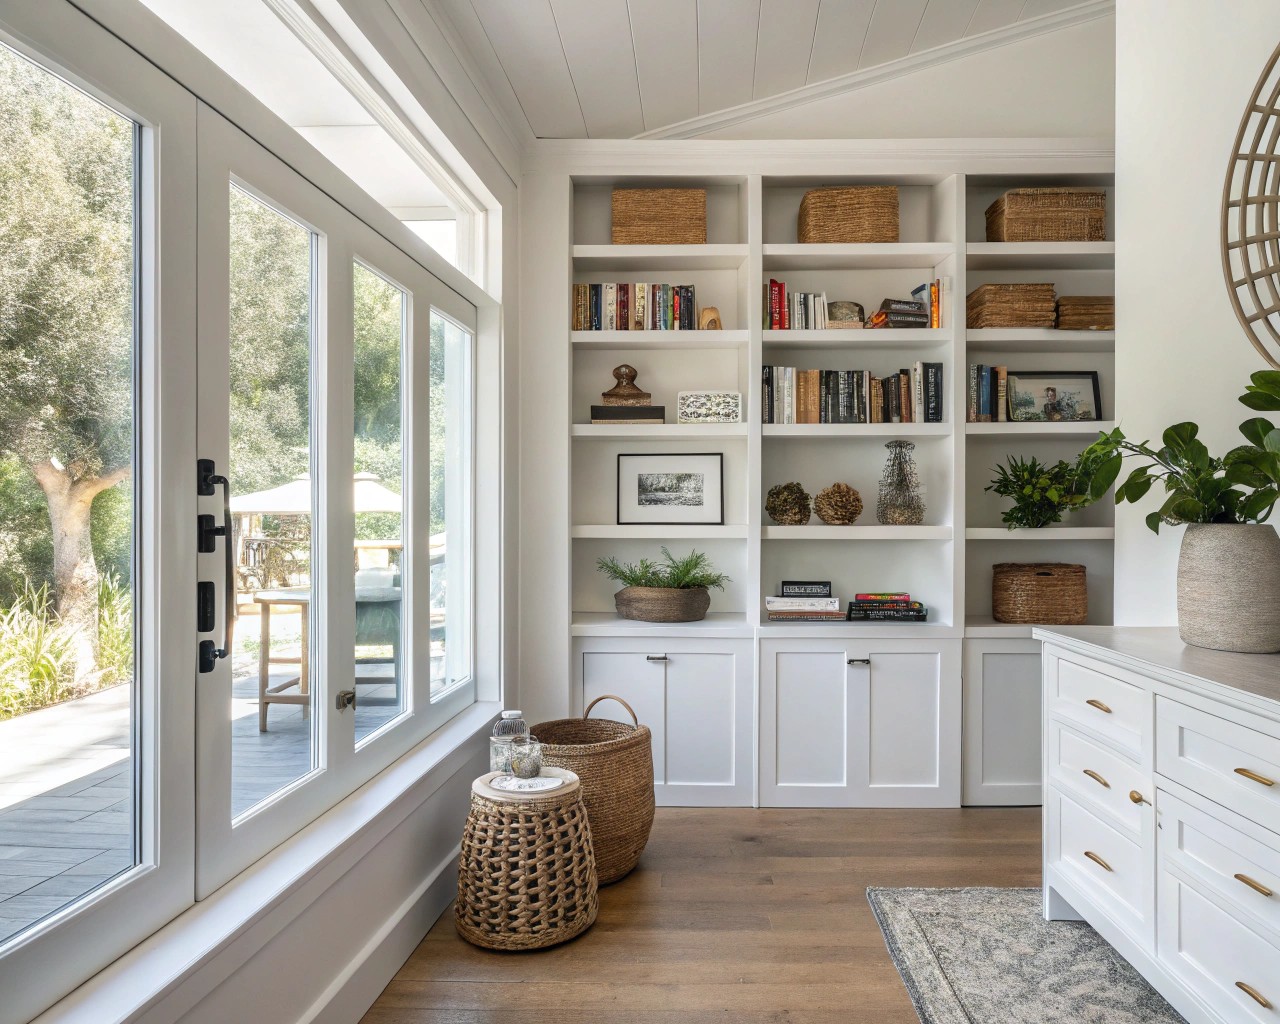
Before installing a single shelf, ask yourself these essential questions:
- What will you store on these shelves? This determines the required support and spacing
- Where will the shelves be located? Consider sight lines and overall room balance
- What are your anchor points? Proper installation into wall studs is crucial for support
- How frequently will you use the displayed items? Daily-use items collect less dust
Material Selection Guide
Different materials offer varying aesthetics, durability, and maintenance requirements:
| Material | Aesthetic | Durability | Maintenance | Best For |
|---|---|---|---|---|
| Solid Wood | Warm, natural | High | Medium (may need oiling) | Kitchens, living spaces |
| Glass | Modern, light | Medium | High (shows fingerprints) | Bathrooms, display items |
| Metal | Industrial, sleek | Very high | Low | Kitchen, utility spaces |
| Aluminum/Glass Combo | Contemporary | High | Medium | Modern spaces, offices |
| Marble | Luxurious | Medium | High (requires sealing) | Kitchens, bathrooms |
We often recommend solid wood shelving for most residential applications. As one client told me, “Wood shelves are like good jeans—they look better with age and go with everything.”
Styling Principles That Work in Real Life
1. Start with a Clean Slate and Plan
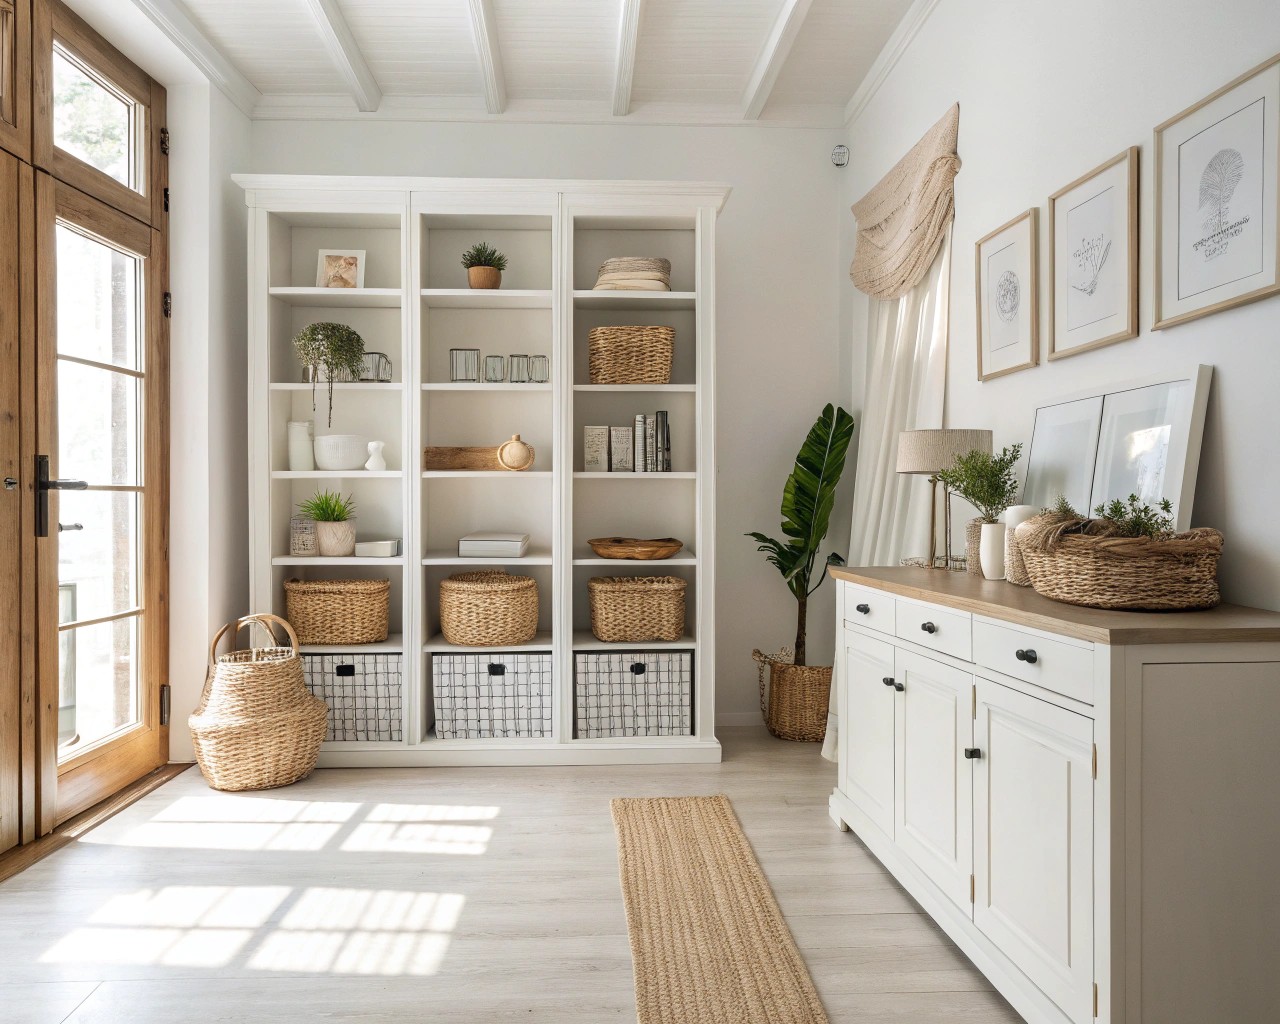
Before styling, remove everything from your shelves or space where they’ll be installed. This allows you to:
- Clean thoroughly before adding items
- Gather potential display pieces in one place to assess what works together
- Establish a color scheme of 3-4 main colors that complement your room
- Select items that reflect your aesthetic while remaining functional
Experience has shown that attempting to style shelves incrementally, adding items piece by piece, often leads to a disjointed display that ultimately requires a complete redo. Clearing the space entirely before beginning the styling process is now a fundamental step in achieving a cohesive look.
2. The Layering Method
Effective shelf styling relies on thoughtful layering:
- Place anchor pieces first – These larger items provide visual structure
- Create depth with layering – Position items of varying depths, with larger pieces at the back
- Group in odd numbers – Arrangements of three or five items tend to be visually pleasing
- Mix heights and textures – Combine tall, medium, and short items for visual interest
One successful technique involves using small artwork as a backdrop on shelves. This introduces instant depth and visual interest, proving particularly effective in kitchens where achieving dimensionality can sometimes be challenging.
3. Function Meets Beauty: The Kitchen Shelf Strategy
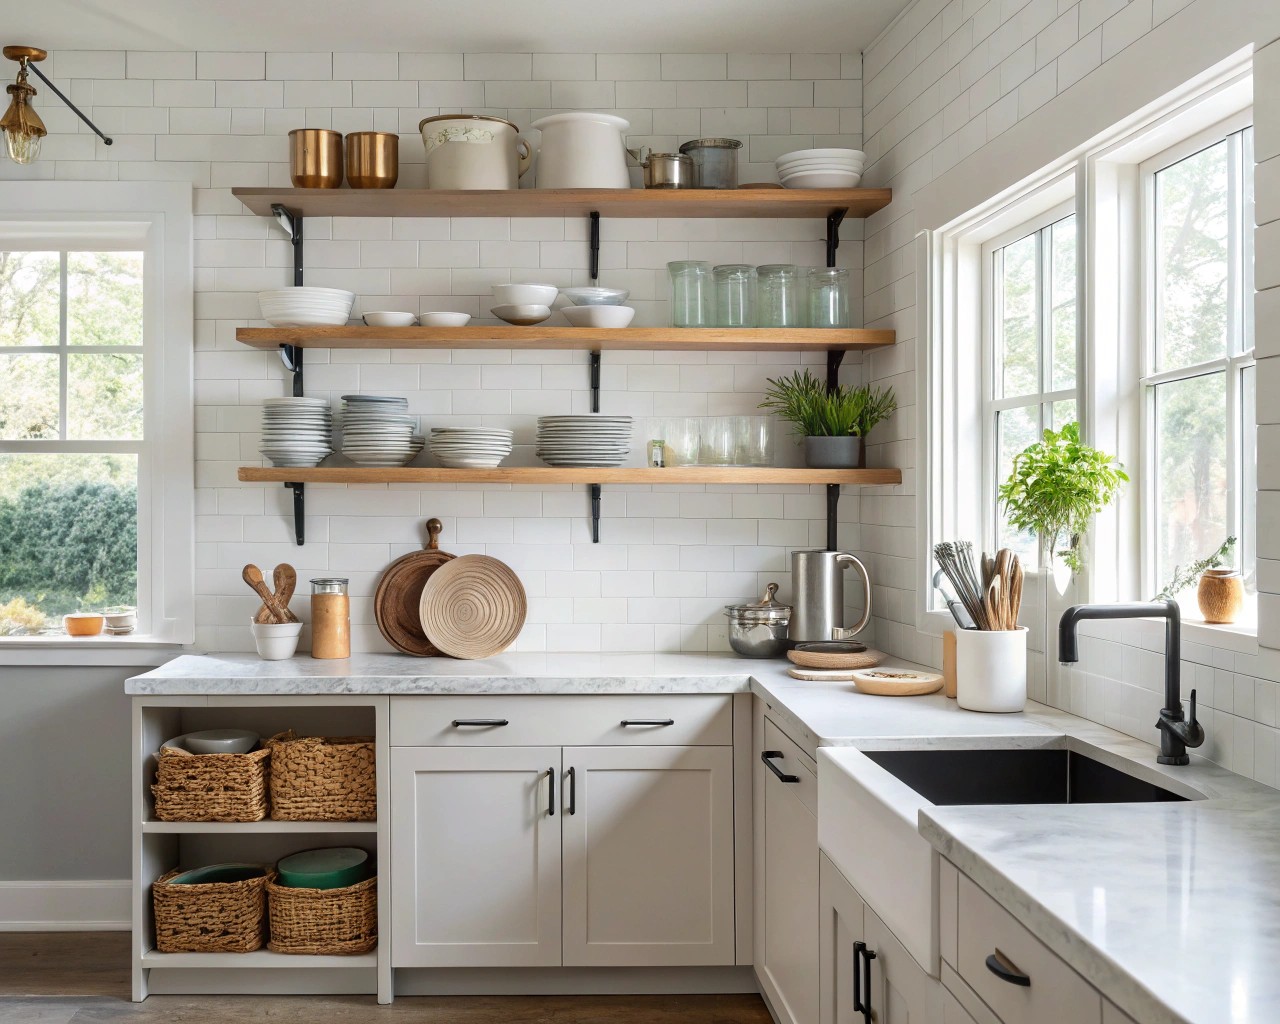
Kitchen shelves demand special attention as they balance daily function with aesthetic appeal:
- Store frequently used items (plates, glasses, mugs) on easily accessible shelves
- Choose cohesive colorways for dishware (all white or a complementary palette works well)
- Incorporate cookbooks as both functional items and decorative elements
- Add small plants or herbs for life and color
In my own kitchen redesign, I designated open shelving exclusively for items used daily—white plates, clear glasses, and favorite mugs. All other items were placed behind cabinet doors. This strategy has proven effective in maintaining both beauty and practicality over the years.
Room-by-Room Styling Guide
Kitchen Open Shelving
What Works Best:
- Daily-use dishware in cohesive colors
- Frequently used cooking tools
- Glass storage containers with dry goods
- Cookbooks
- Small plants or herbs
Real-Life Success Story:
A California kitchen remodel by designer Lindsey Brooke exemplifies a less is more approach. Brooke ensured that only everyday items were displayed on the shelves, utilizing a cohesive color palette to prevent visual clutter. All dinnerware shared the same color, as did the glassware collections, creating a calm and unified look.
Living Room/Office Shelving
What Works Best:
- Books (arranged both vertically and horizontally)
- Framed photos or artwork
- Sculptural objects
- Plants
- Boxes for concealing small items
For living spaces, we often suggest the “60-30-10” guideline: allocate roughly 60% of shelf space to functional items like books and storage boxes, 30% to decorative pieces, and 10% to personal mementos or photographs.
Bathroom Shelving
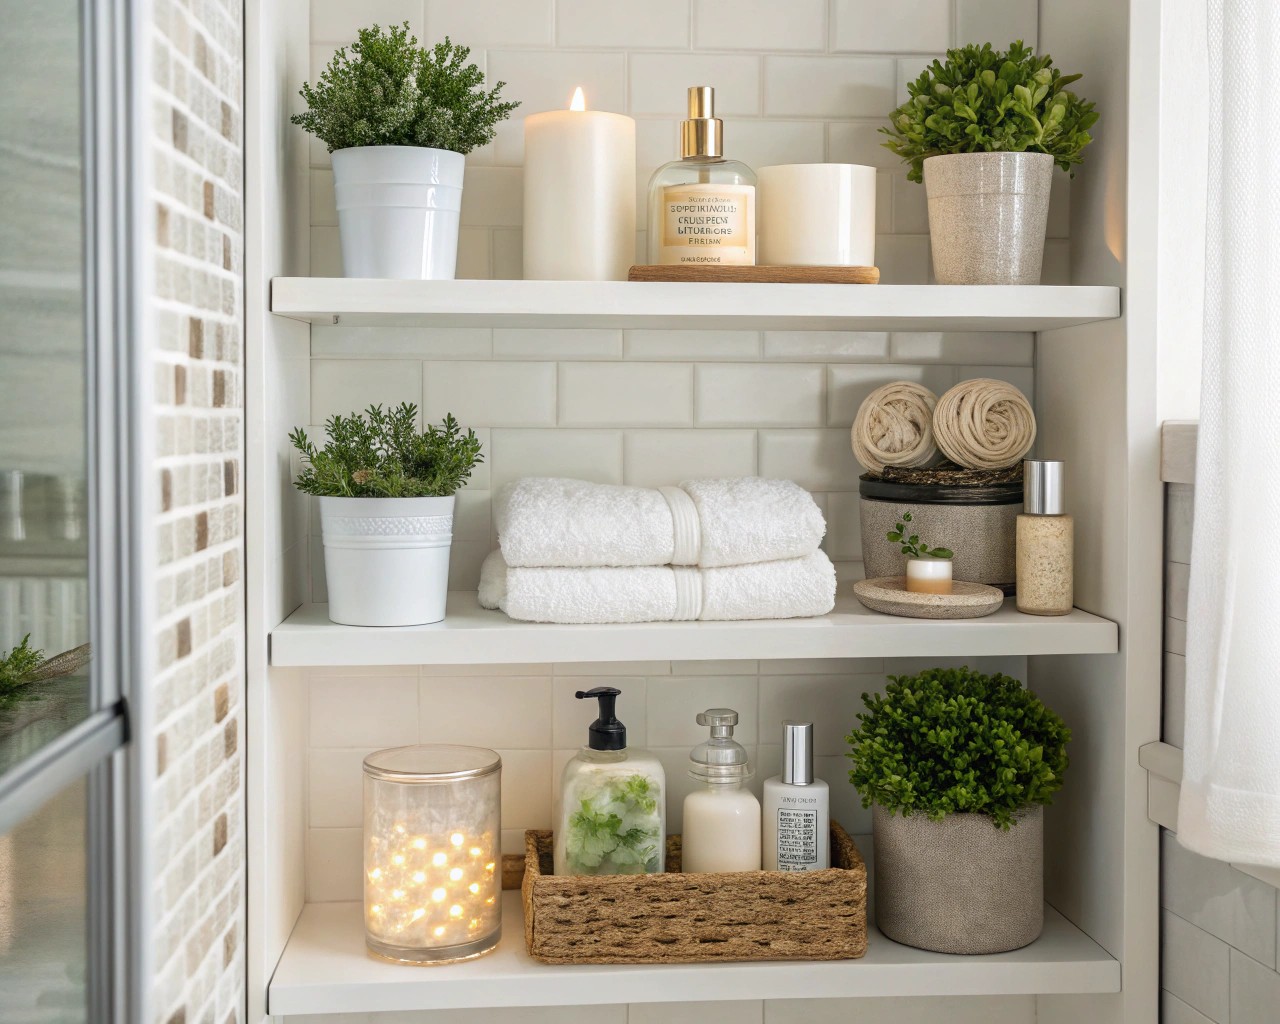
What Works Best:
- Rolled white towels
- Glass containers for cotton balls, swabs
- Attractive toiletry bottles
- Small plants that thrive in humidity
- Minimalist storage baskets
Bathroom shelving necessitates careful consideration of moisture. We consistently advise clients to choose moisture-resistant materials and avoid placing electronics or easily damaged items on open shelves in these areas.
Maintenance Strategies for Beautiful Shelves
Even the most stunning shelving design requires a maintenance plan to stay looking its best. Here’s how to keep your shelves fresh:
Regular Cleaning Schedule
| Room | Cleaning Frequency | Special Considerations |
|---|---|---|
| Kitchen | Weekly wipe-down | Check for grease buildup |
| Living Room | Bi-weekly dusting | Rotate books occasionally |
| Bathroom | Weekly thorough cleaning | Monitor for moisture damage |
| Office | Monthly reorganization | Prevent paper accumulation |
Seasonal Refreshes
Periodic updates help keep shelves visually engaging:
- Quarterly Edit – Remove items that no longer serve you or the aesthetic
- Seasonal Adjustments – Incorporate seasonal elements (spring blooms, fall textures)
- Color Updates – Shift accent colors to reflect seasonal changes
- Functional Reassessment – Move items based on changing usage patterns
Taking photos of your shelves when you are satisfied with the arrangement is highly recommended. These images serve as a valuable reference point for future styling and simplify the process of making seasonal refreshes.
Styling Tips That Stand the Test of Time
Drawing from years of experience styling shelves for clients in diverse spaces, these principles consistently yield beautiful, maintainable displays:
1. Group Like with Like
Creating collections of similar items enhances visual cohesion:
- Stack books by size or color
- Group ceramics of complementary tones
- Arrange glassware by function or style
2. Incorporate Negative Space
Resist the urge to fill every inch. Allowing for “breathing room” between items gives the eye a place to rest and makes the overall display more impactful. Reducing the number of items, even by a small percentage, can often result in a more sophisticated look, a realization sometimes met with initial resistance but ultimately appreciated by clients.
3. Balance Form and Function
The most successful shelves achieve a harmonious balance between beauty and practicality:
- Upper shelves: Ideal for more decorative items or pieces used less frequently
- Middle shelves: Suitable for a mix of functional and decorative objects
- Lower shelves: Best reserved for more functional, frequently accessed items
4. The Rule of Three
When faced with particularly challenging shelf arrangements, the rule of three often provides a reliable structure:
1. Anchor piece (largest or most substantial)
2. Complementary piece (medium size, related but distinct)
3. Accent piece (smallest, adding an unexpected element or texture)
This straightforward formula proves effective across nearly any style or type of shelf.
Client Success Stories
The Minimalist Kitchen Transformation
A client with a small urban kitchen struggled with limited storage but disliked the cluttered appearance of open shelving. We implemented a strict “white dishes only” policy for open shelves, relocated colorful cookware to lower cabinets, and added just two small plants for color. Three years later, she reports the system still works perfectly—the simplicity made maintenance straightforward.
The Family-Friendly Living Room Solution
For a family with young children, we designed lower shelves with sturdy baskets for toy storage and reserved upper shelves for more delicate displays. The parents rotate the children’s books seasonally on mid-level shelves, keeping the space fresh while remaining functional for all family members.
